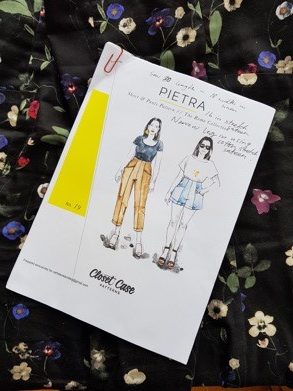


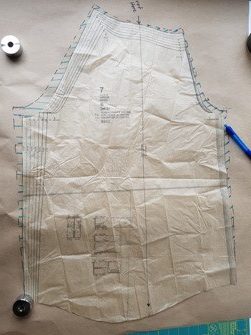


This was my first experience using a pdf downloaded pattern. I close to print it at my local Warehouse Stationary Store.
I brought the special that Closet Case had when they released the Rome Collection. This was super easy, but it worked out more expensive for me than if I had brought the paper patterns to start with. Still it was worth the experience to see how it went (plus I managed to use up all the AO paper stock they had, I don’t think they have had much call for sewing pattern printing before).
I always worry about making things too small and this is an eternal bad habit of mine (also I never make toiles). My hip measurement sits at size 20 for this pattern, and I worried about it being too small, so what do I do, but make them up in stretch cotton sateen (from Spotlight)…….
Now, the pattern went together like a dream (great instructions also), but you guessed it, way too big. I took 10cm out of circumference of hip, and I could probably take more. When I make these up again, I will make length size 20, in non-woven hip size 18, and if I revisit to stretch cotton it will be hip size 16.
I was pretty happy with the outcome, considering the starting point. I want to make the next version wide leg and cropped in forest green linen.
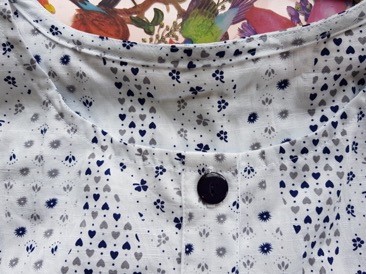
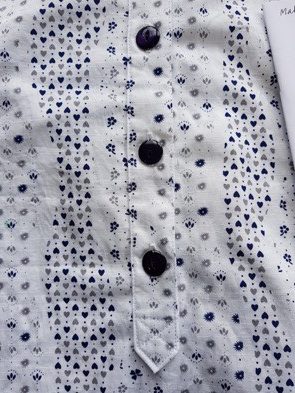
I have had this pattern in the drawer since this time last year (missmaudesewing.co.nz), originally I brought it to make the dress version. But at the moment I wanted to have another white-based box top in my wardrobe, so thought I would give this a go.
I had purchased this swiss cotton pique print 8 years ago, and had it waiting for when the opportunity arose.
My bust measurement is between 16-18 according to the pattern. So I made the size 18 to be sure…..
I have a short neck, and struggle with high collars, so hacked the cropped shirt pattern by removing the collar, lowering the front neck by 3.5cm, and then split the length between the cropped shirt and tunic. Off I went, the pattern went together fantastically again, but you guessed it still too big.
I took in the sides to a 16, arm and shoulder I left at 18.
I was really happy with the outcome. I made self-bias for neck edge, and the front placket was a dream.
I will definitely make this again, probably in something with a softer handle, linen or challis as this fabric is light but stiff.
I know it is not pretty, but I always write the adjustments I do on the front of the pattern, speeds up the make next time round.
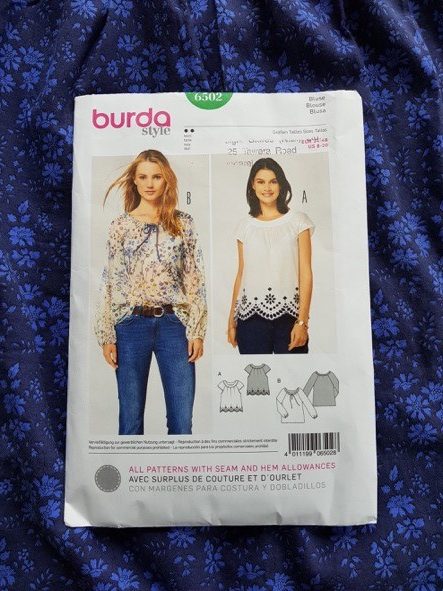
Ok, I admit I might have overdone the makes with this top. I have made it a total of 14 times now in all variations. I love it, it is so easy, goes together like a dream. It is my wardrobe staple top.
The makes from this pattern I made this time are, neckline A with B sleeves.
With all Burda patterns I am usually a size 46 shoulders and size 48 bust and body.
This pattern only goes to size 46, so when I first made this top, I cut the neck and shoulders to that and graded sleeve to a size 50 (I was worried about it being tight across the top of my arm) and body to size 48.
The outcome was the fit was great around the neck, and you guessed it too big everywhere else.
To fix the fit. I left the neck at size 46, cut the body side seams back to size 44, the sleeve to size 46, then lowered the armscye and did a large bicep adjustment to the sleeve.
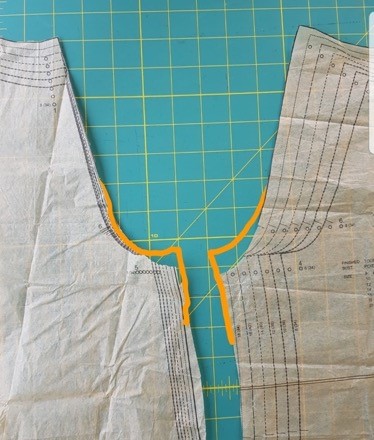
This is how I lower my armscye. Lay the back, sleeve in the middle and front across your table. Lining up your armscye.
I lowered my armscye by 1cm.
The orange lines indicate where the original pattern was before I cut it away.
This same alteration must be done to body and sleeves alike.
Once that the armscye is lowered, I can follow with a bicep adjustment.
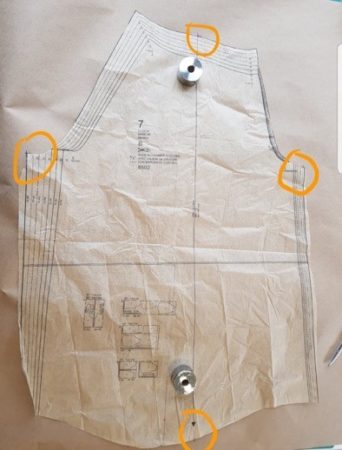
Lay your pattern piece down on paper, marking the shoulder point, armscye points and a point on hemline (I used grainline indicator).
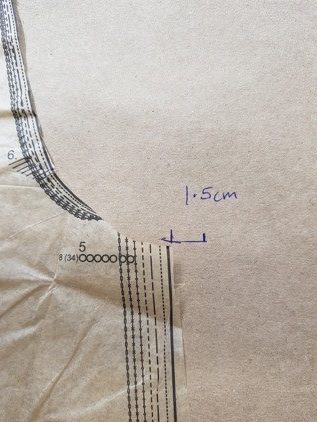
Measure 1.5cm out from side seams of sleeve on both sides.
Pivot from the shoulder point towards the 1.5cm mark on both sides of sleeve.
Trace new pattern outline from shoulder point to armscye on both sides of sleeve.
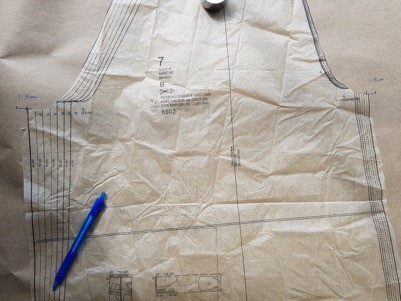
Then realign sleeve (matching shoulder point and hem point to original marks) and rule a line from armscye point to hem of sleeve.
This is the new sleeve pattern.
Blue floral cotton twill from Liberty (thefabricstore.co.nz)
Mint floral cotton twill from Liberty (thefabricstore.co.nz)
Cotton sateen from Liberty (thefabricstore.co.nz)
Cotton broderie anglaise (Spotlight)
Cream with print, fine wool crepe (local charity store)
Pink floral polyester crepe (thefabricstore.co.nz)
And lastly these three,
which are all Liberty Lantana (cotton /wool mix, one of my all-time favourite fabrics) from The Fabric Store. The middle top and right one, are from the original time I made this top, so I gave them post-operative care and altered them to fit. Thank-goodness the neck was ok in the original make otherwise, these would not have been salvageable.
Happy Sewing
Catherine
Some things about me you need to know…..
I am obsessional, therefore I collect, and have collections.
I am passionate, I either love it or hate it there is no in between.
I am a perfectionist when it comes to sewing, and struggle with the just ok finish I achieve sometimes.
I garden. I collect plants too, especially deciduous magnolias.
I need colour and texture to nurture my soul.
I read, research, and study because it excites me.
I am a mum to three twenty somethings, an attendant to three cats, and partner in all things to David of more than 30 years.
Be the first to know about upcoming promotions and news!